
NOC-PS Lite for the Raspberry Pi
NOC-PS Lite is a feature limited edition of NOC-PS that runs on a Raspberry Pi, and can be used to install Linux operating systems on servers over the network, so called PXE network installations.
It is meant to be used at locations where you only have a handful of servers, for which it would not be worthwhile to setup a full NOC-PS installation.
Requirements
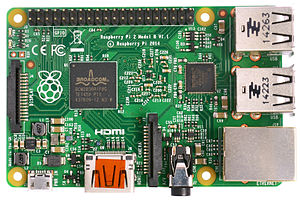
- Raspberry Pi model B, B+ or Raspberry Pi 2
- 4+ GB SD card
- Micro USB power supply (at least 1 amperre)
- Network cable
- For initial installation only: keyboard, mouse, HDMI display (or DVI monitor with converter cable)
Limitations
The Lite edition is free of charge, but has the following limitations compared to the full version:
- Only contains installation profiles for the 64-bit editions of the following Linux distributions:
- CentOS 7
- Debian Jessie
- Fedora 22
- Ubuntu 14.04 LTS
- Ubuntu 15.04
- SystemRescueCd recovery system
- Windows and FreeBSD are not supported in the Lite edition.
- Limited to provisioning 25 servers (unique MAC-addresses) per year. You can however provision each server multiple times.
- No API access, or billing system integration possible. Limited to only one webinterface user.
- Use at your own risk. Provisioning the wrong server will lead to data loss, and our liability is limited to the price you paid for this software. 🙂
Installation
It is required that you install Berryboot to a blank SD card first.
1) Download the Berryboot .zip file and extract it to a normal blank FAT formatted SD card.
2) Put the SD card into your Raspberry Pi, and connect a HDMI display, network cable, keyboard, mouse and micro USB power supply.
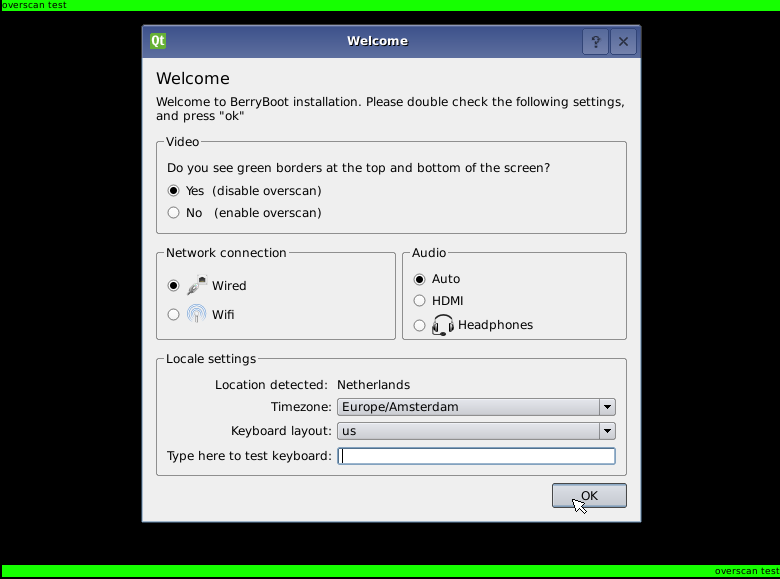
3) On the first screen, verify the keyboard layout (which is guessed based on your location), verify the keyboard works by typing something, and press “OK”
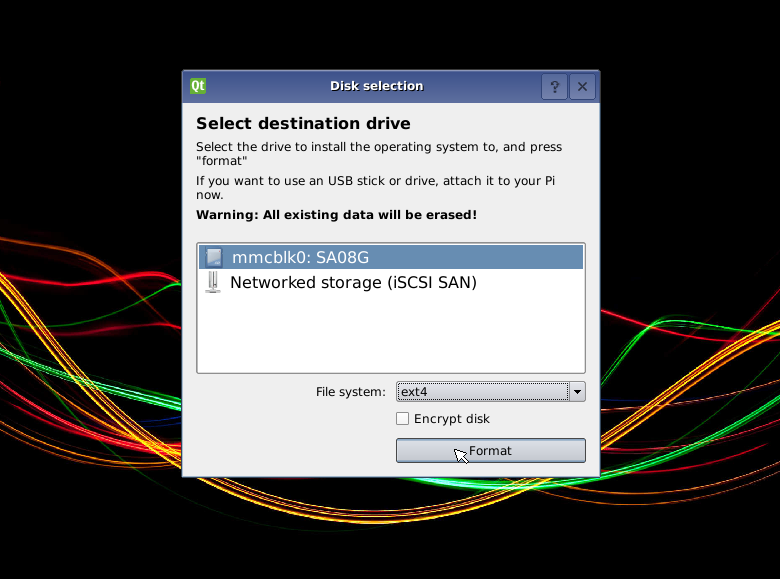
4) Select if you want to install NOC-PS to the SD card, or to an iSCSI SAN/NAS device, and press “format”
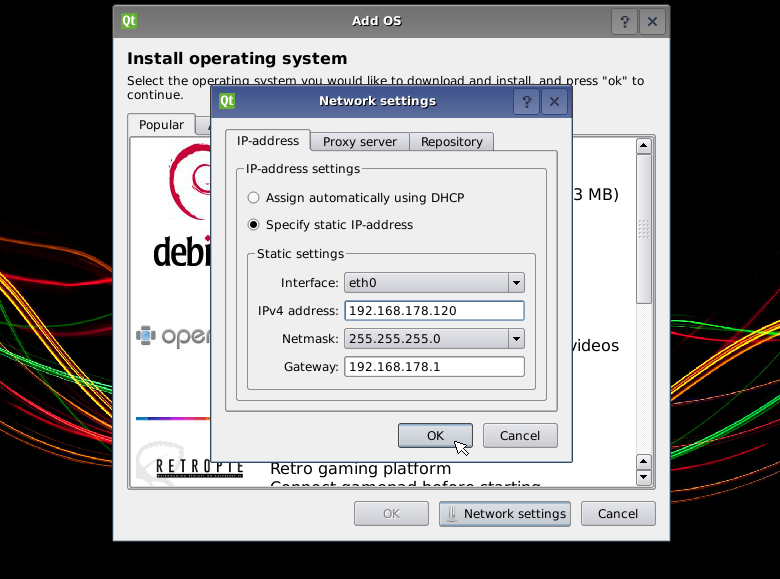
5) Press the “network settings” button, and select we want to use a static IP-address. Enter the IP-address you want the NOC-PS webinterface to have, and press “OK”
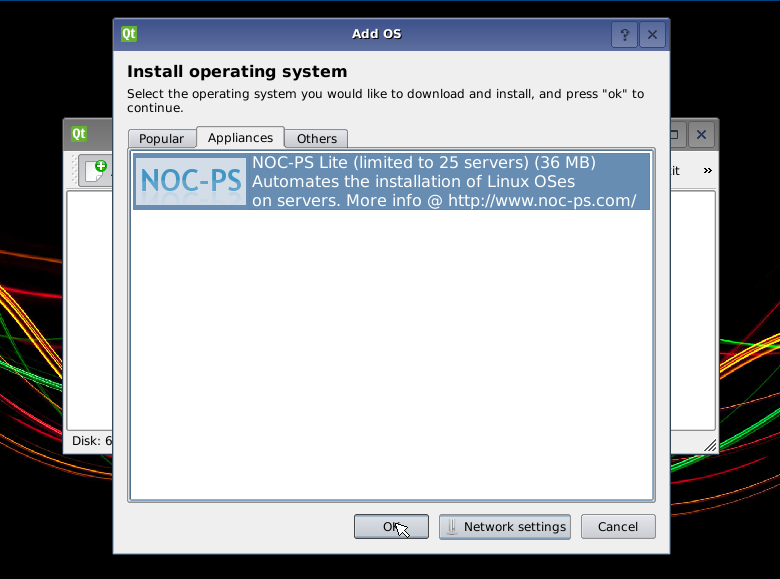
6) Select the “Appliances” tab and choose we want to install “NOC-PS Lite” to the Pi. Press the “OK” button.
The download size indicated is for the NOC-PS software itself only. It will download the operating system installation files later on demand when you are actually provisioning servers.
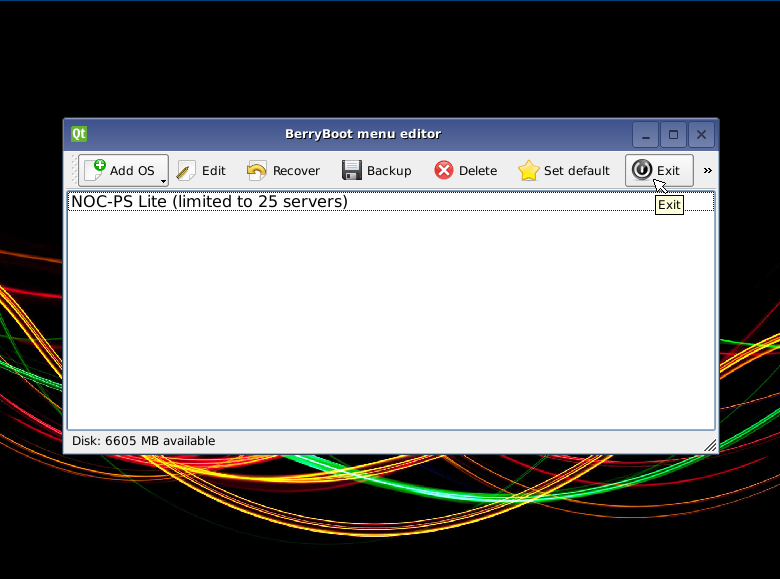
7) Press “Exit” to exit the Berryboot menu editor, and boot “NOC-PS Lite”
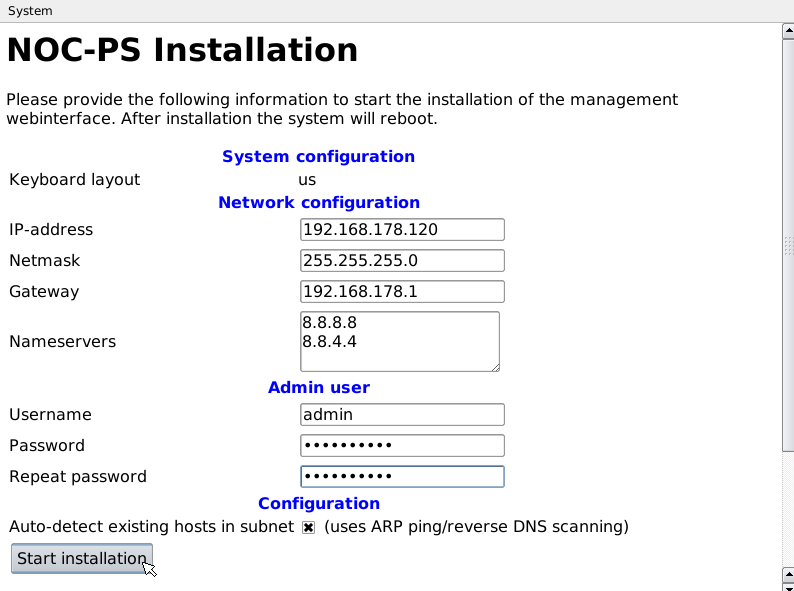
8) After booting “NOC-PS Lite” it will perform some initial initialization, and prompt you for network details, and which username and password you would like to use to access the NOC-PS webinterface. After pressing “start installation” the installation will complete, and the system will reboot one more time.

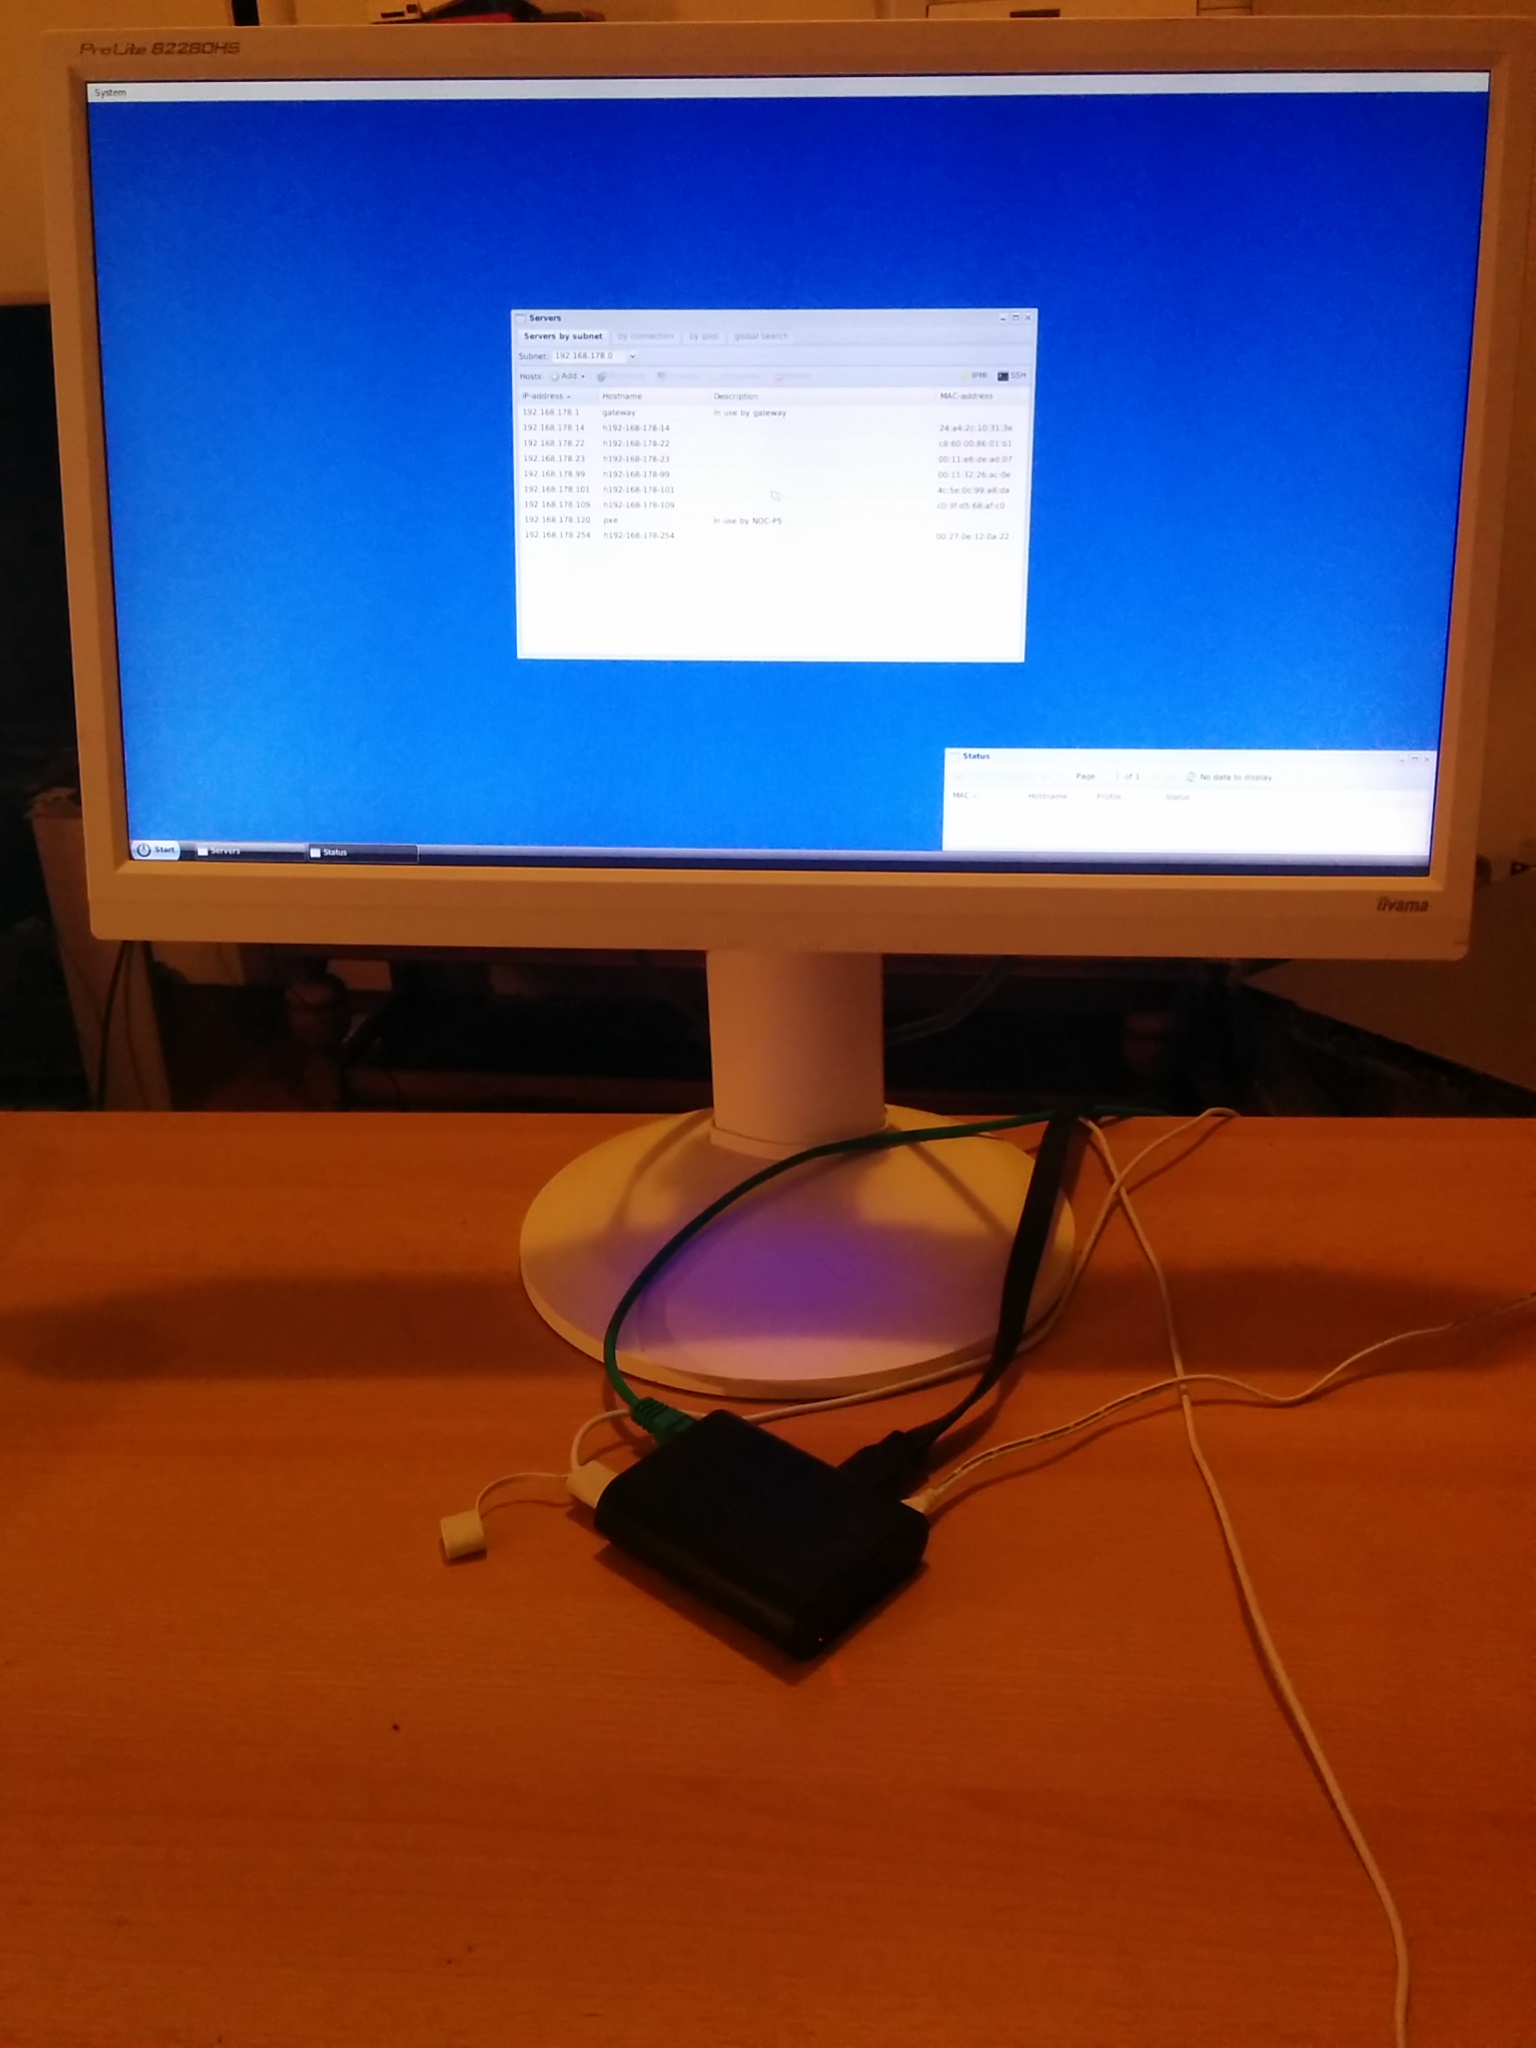
9) You can now access the NOC-PS web interface using your normal computer with a regular web browser (recommended), or login to the interface on the Pi itself.
Using NOC-PS

See the NOC-PS manual for more information on how to use the NOC-PS webinterface.
Troubleshooting
Pi does not boot, has a steady green light
Remove and reinsert SD card, and try again.
Other DHCP servers
Keep in mind that PXE network booting uses the DHCP protocol and any other DHCP servers inside the same network (VLAN) may conflict.
You should therefore disable any other DHCP servers (including ones present on devices such as NAT routers) during provisioning.
Timeouts due to Spanning Tree Protocol being active
Especially when using Cisco Ethernet switches, make sure you enable “portfast” on switch ports that connect to servers.